Lighting Hacks for Product Photography Natural Light vs. Studio Setup
If you’ve ever tried to take photos of your products, whether it’s a handmade candle, a jewelry piece, or a coffee mug — you know one thing for sure: lighting can make or break your photo. Good lighting doesn’t just make a product look nice; it makes it sell. It can make colors pop, textures stand out, and most importantly, it can make people trust what they’re buying.
But here’s the big question many small business owners and marketers struggle with:
Should you use natural light or a studio setup for your product photography?
Let’s break it down, with real examples, simple tips, and no confusing jargon.
Why Lighting Matters So Much
Imagine scrolling through Instagram or browsing an online store. What catches your eye?
A bright, clear photo where the product looks fresh and real — or a dull, shadowy picture where you can barely see the details?
Lighting creates the first impression.
It tells your customer whether you’re professional, whether they can trust you, and whether the product feels premium or cheap.
Good lighting also shows off the true color, texture, and features of your product, so the customer feels confident clicking “buy.”
Natural Light: Your Budget-Friendly Best Friend
If you’re just starting out or shooting at home, natural light is your secret weapon.
What does it mean:
Using sunlight, either from a window or an outdoor location to light up your product.
Best for:
Handmade products like soaps, candles, clothes
Food photography
Jewelry and accessories
Plants and lifestyle shots
For example, a skincare brand might use Instagram ads to showcase before-and-after results or product tutorials. These ads don’t rely on intent—they rely on intrigue and storytelling. And once people engage with the brand, you can continue retargeting them with follow-up ads, limited-time offers, or testimonials.
For Instance
A small brand selling homemade cookies started taking photos on their kitchen counter next to a large window around 10 AM when the sun wasn’t too harsh. They used a simple white foam board to bounce light back onto the cookies and reduce shadows.
Result? Their Instagram went from dull to delicious-looking, and their orders doubled!
Natural Light Hacks:
Shoot near a window: Look for bright, diffused light (like a sunny but cloudy day).
Use a white background: A bedsheet, a piece of chart paper, or a white wall works.
Bounce light: Use a whiteboard or even aluminum foil to reflect light onto the darker side of your product.
Avoid harsh direct sunlight: It can create strong shadows. Morning or late afternoon light is softer and better.
Time it right: Find your “golden hour” indoors when the light is just perfect.
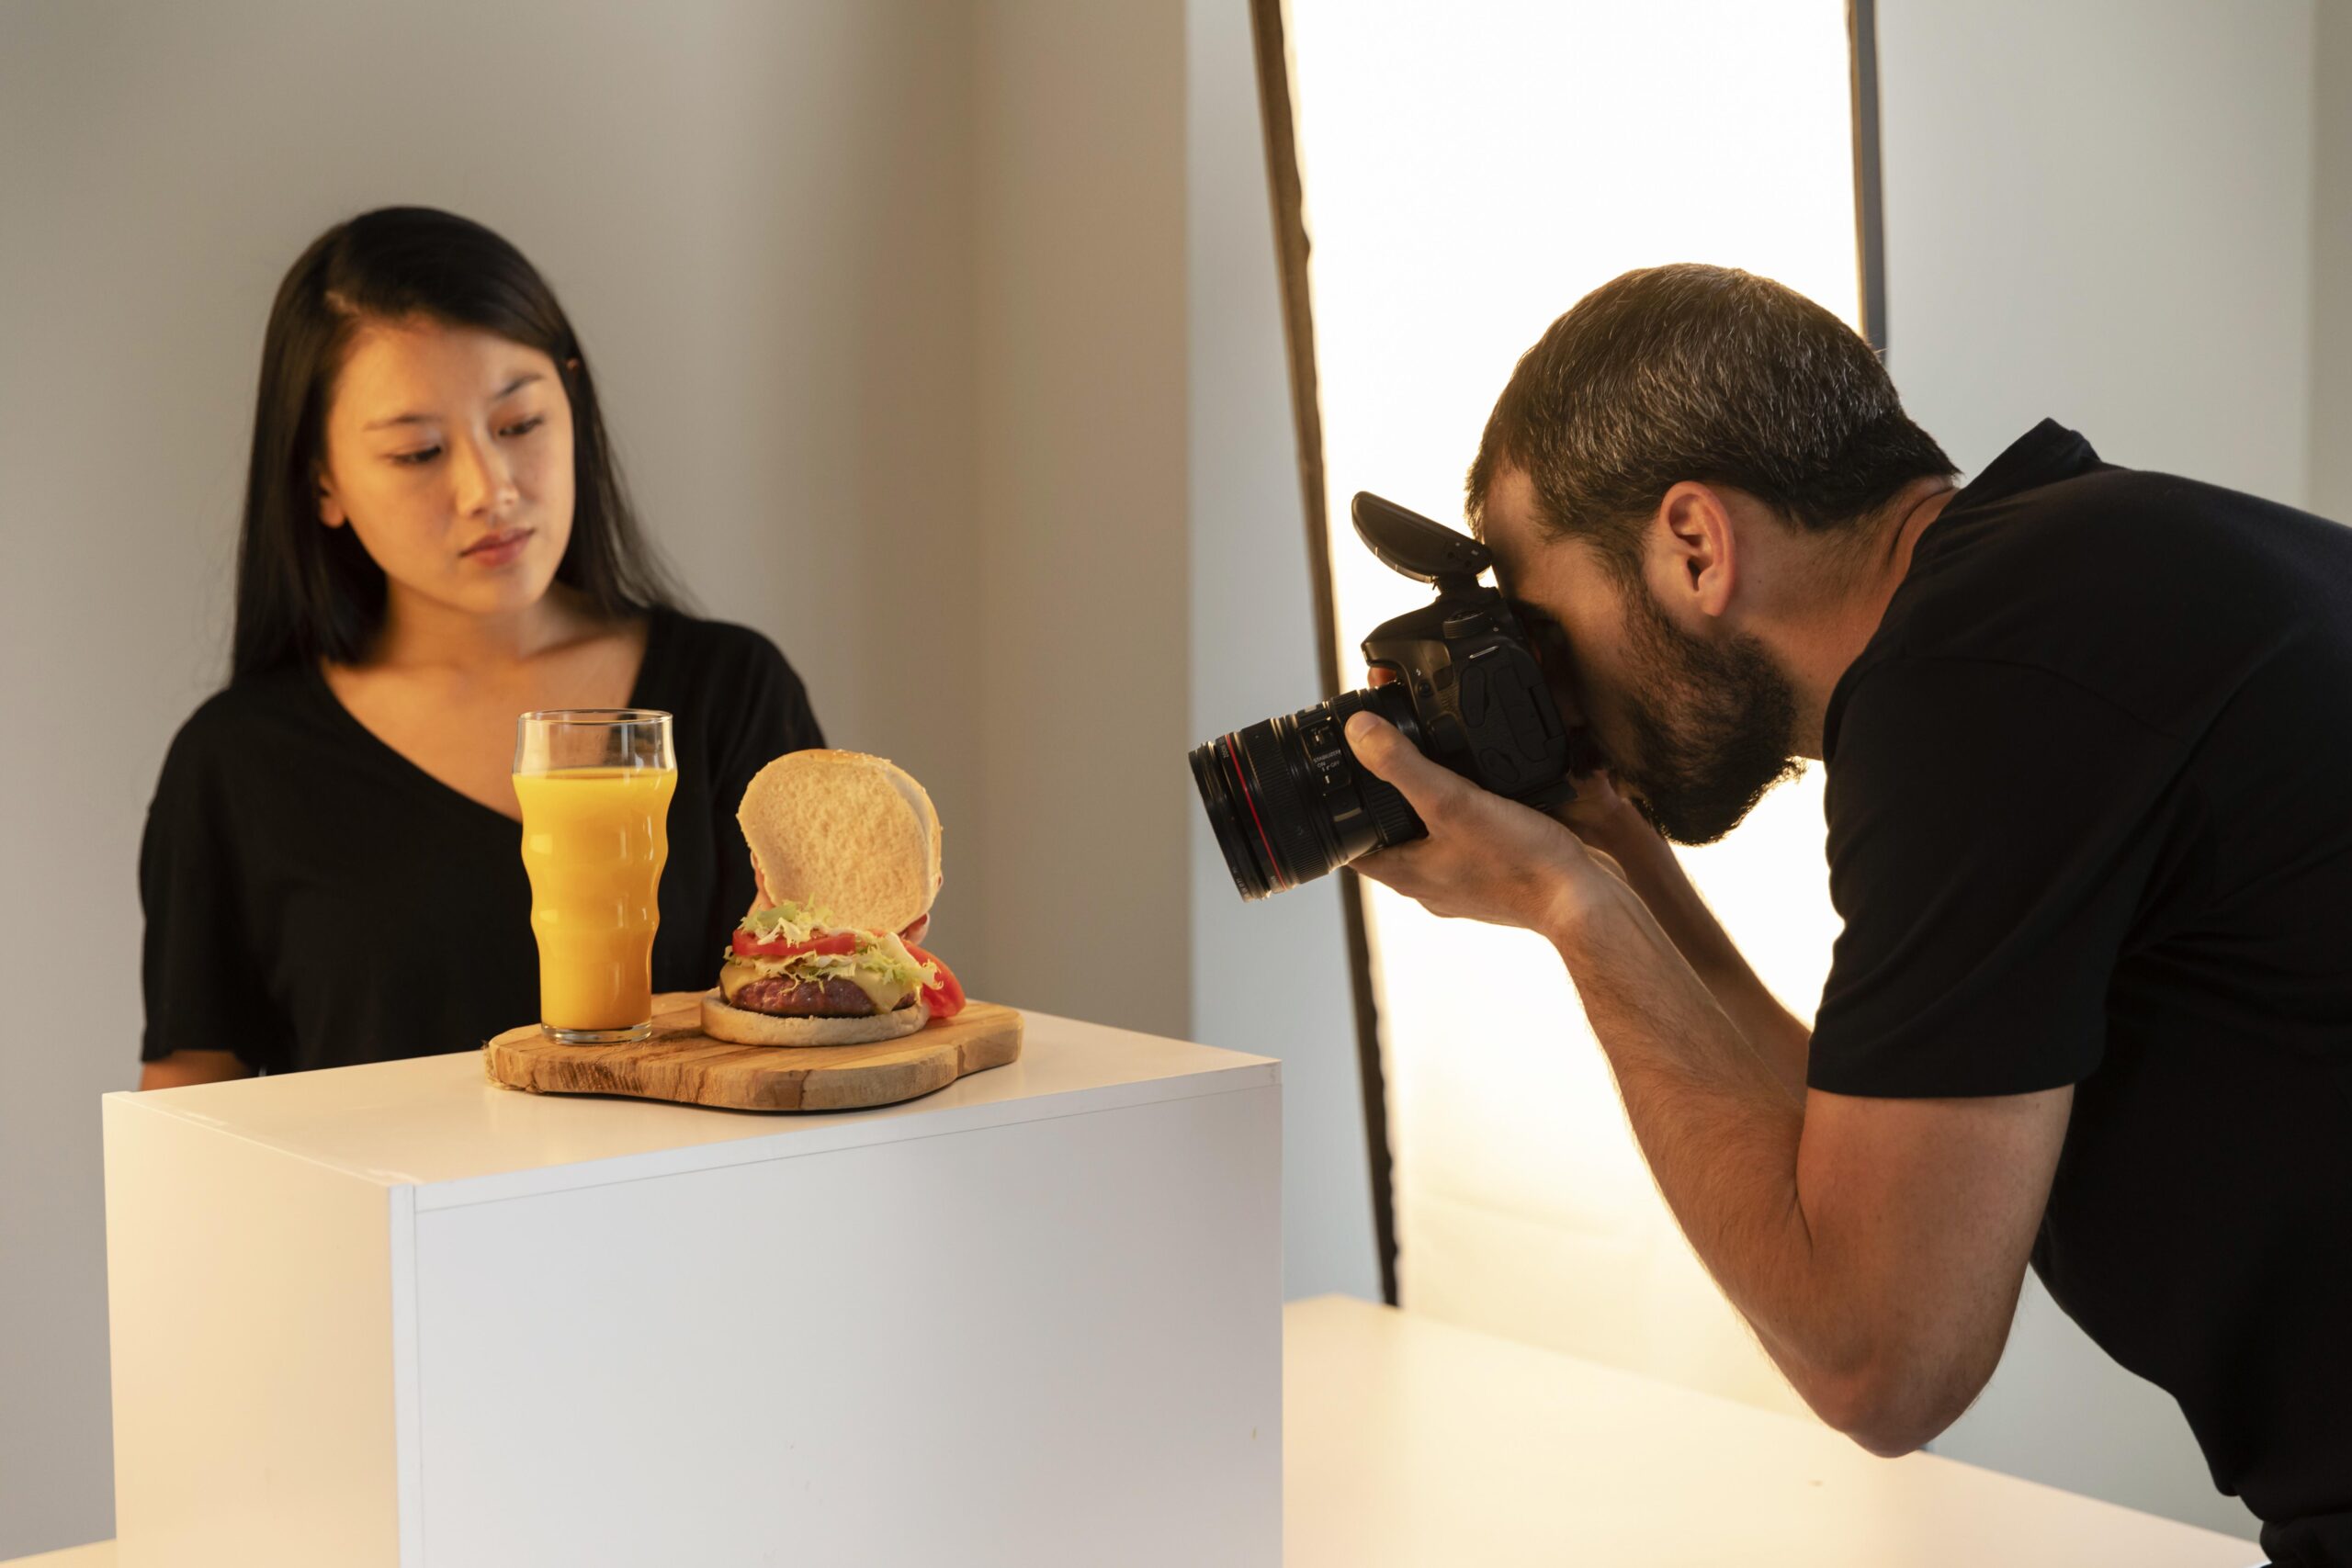
Studio Setup: Total Control, Professional Results
If you want full control over your lighting (especially for bigger launches, e-commerce sites, or detailed products), studio lighting can make a huge difference.
What does it mean:
Using artificial lights (like ring lights, softboxes, or flashes) to create perfect lighting every time, no matter the weather or time of day.
Best for:
Tech products, gadgets
Fashion and apparel
Beauty products like skincare
Product launches with professional expectations
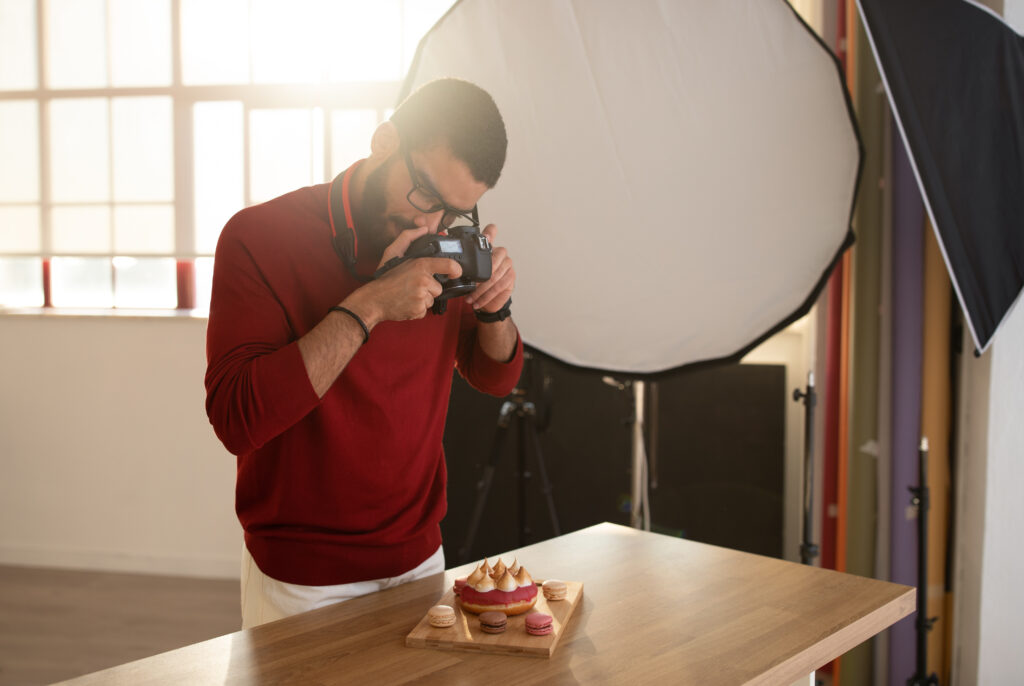
Take an example, a skincare brand launched a new moisturizer. They rented a small studio, used two softbox lights on either side of the product, and a clean white backdrop.
Result? The moisturizer looked premium and luxurious — exactly how they wanted it to feel.
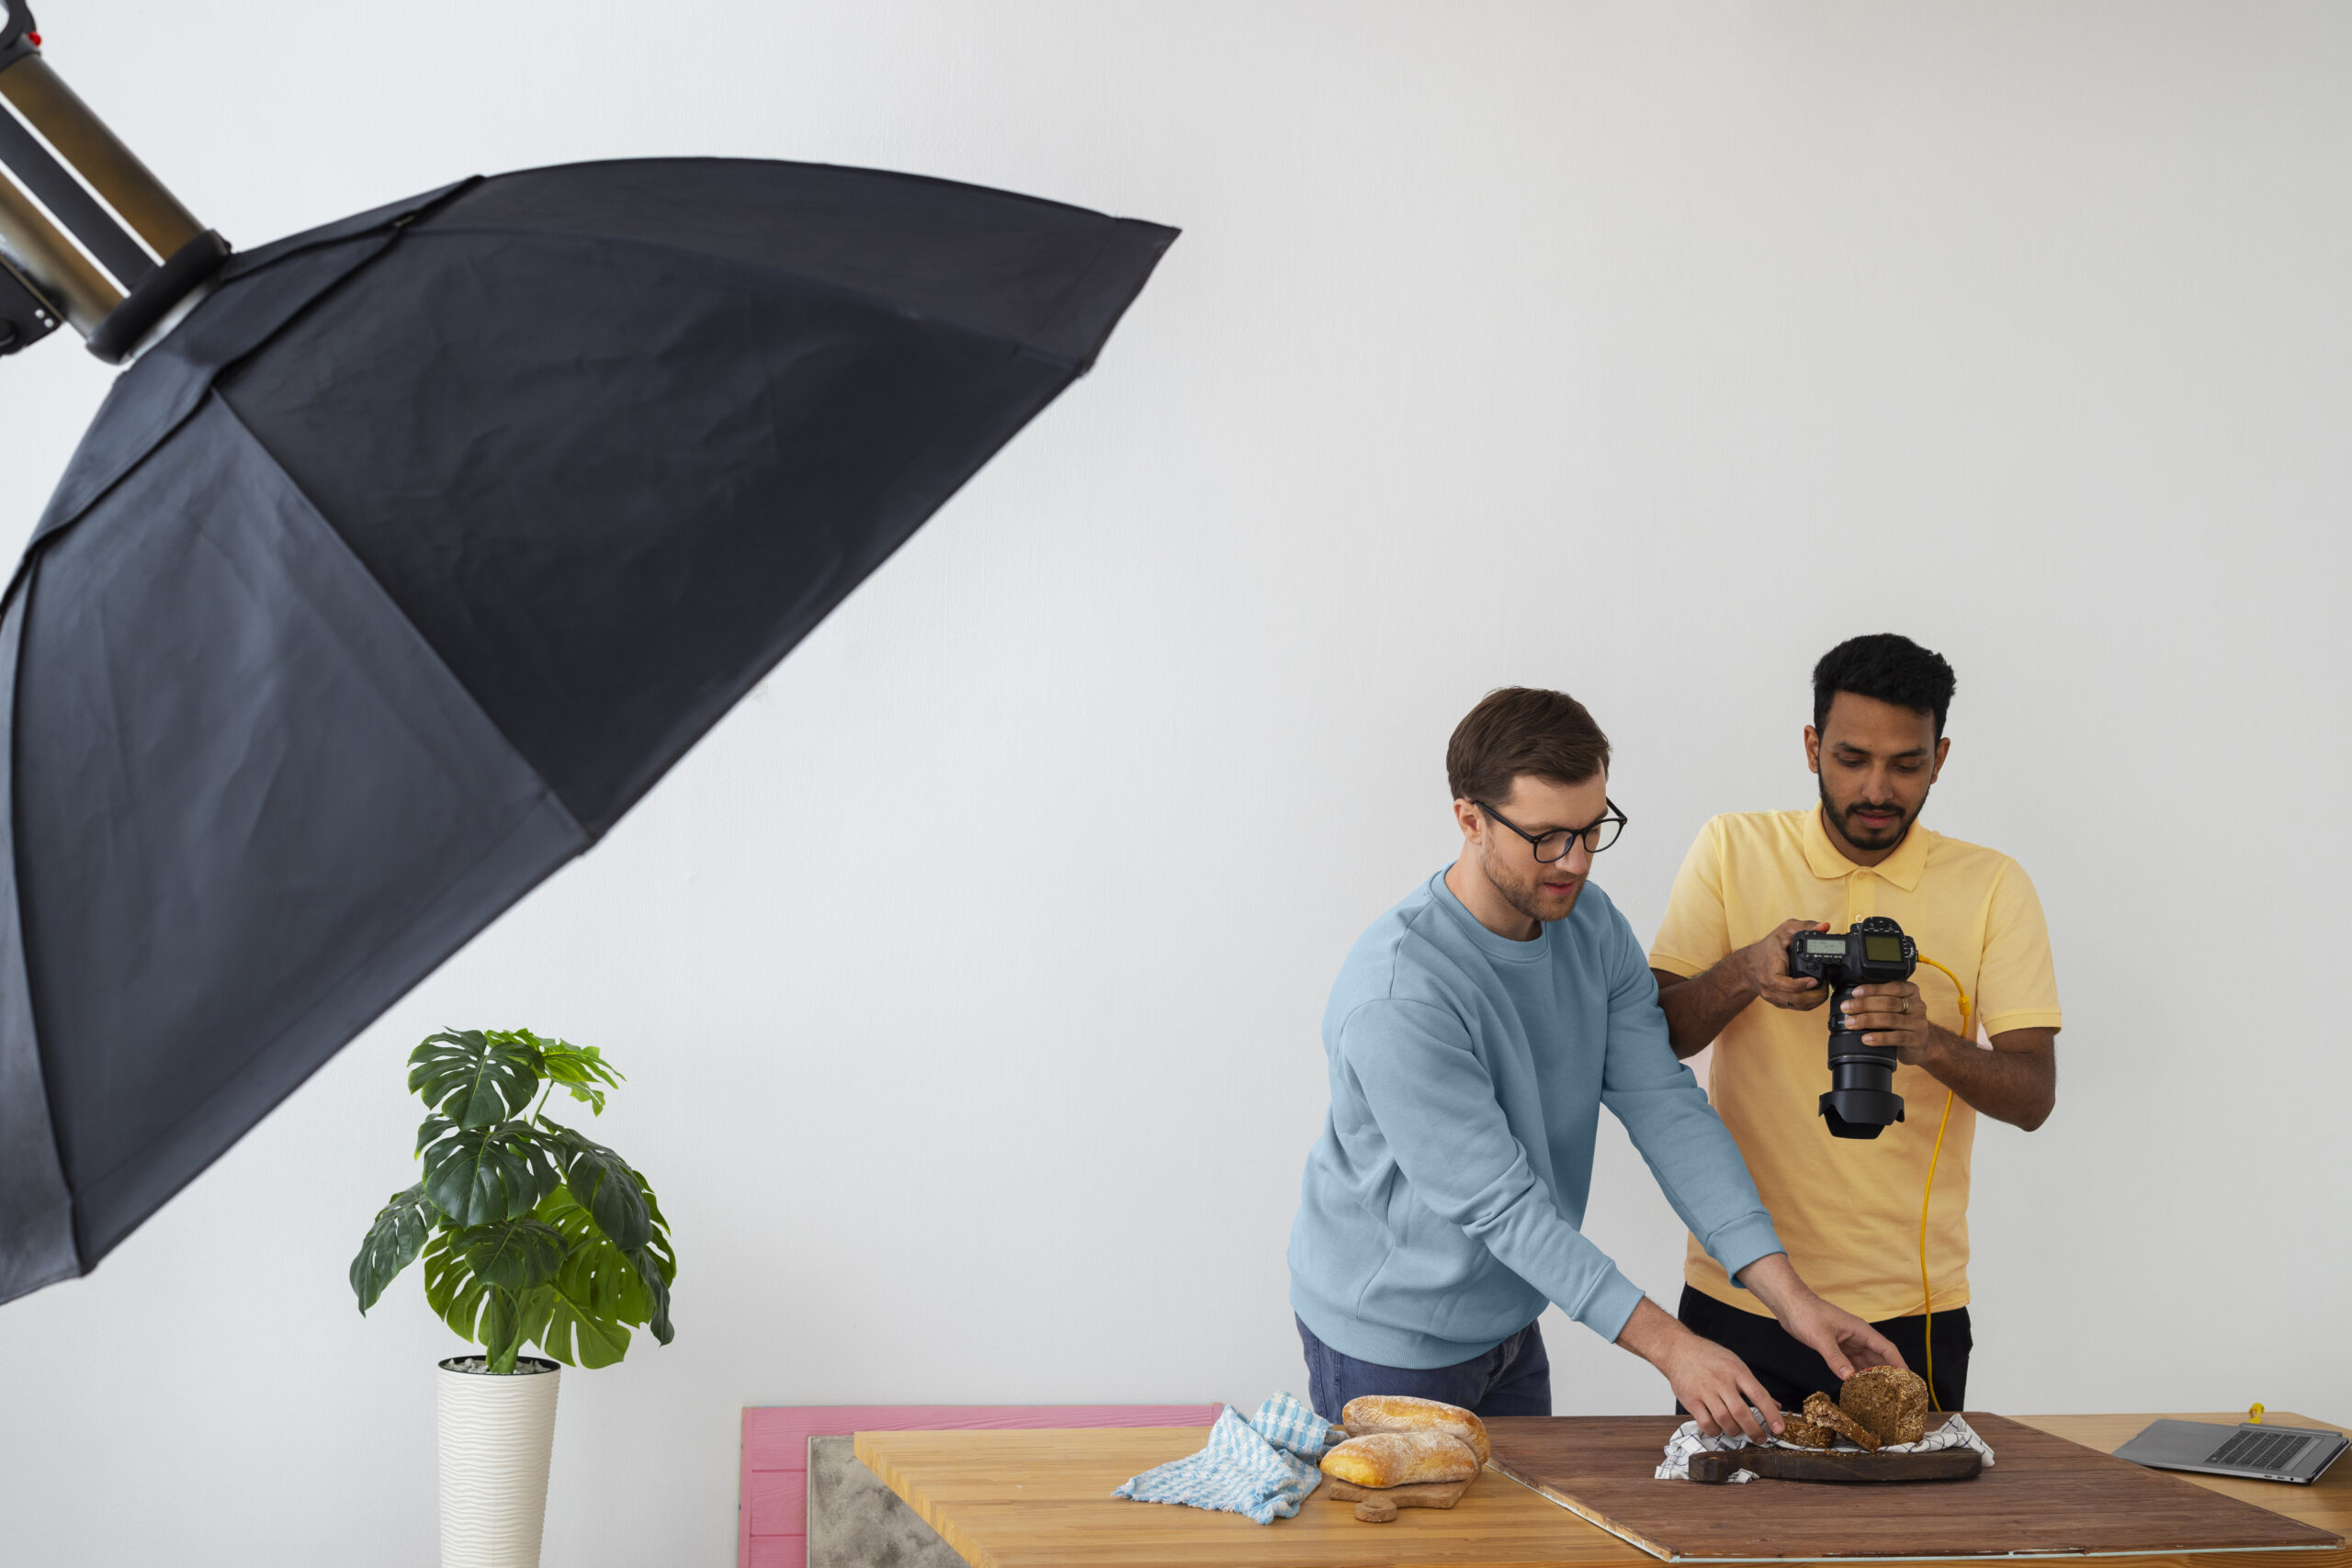
Studio Lighting Hacks:
Invest in softboxes: They create a soft, natural-looking light without harsh shadows.
Use a consistent setup: Keep your background, lighting, and angles the same for a cohesive brand look.
Experiment with angles: Move the lights around until the product looks its best — sometimes even a slight tilt changes everything.
Add props carefully: Studio setups can look sterile, so a touch of texture (like wood, cloth, or plants) can make photos feel warmer.
Use a tripod: Keep your camera steady for sharp, professional-looking shots.
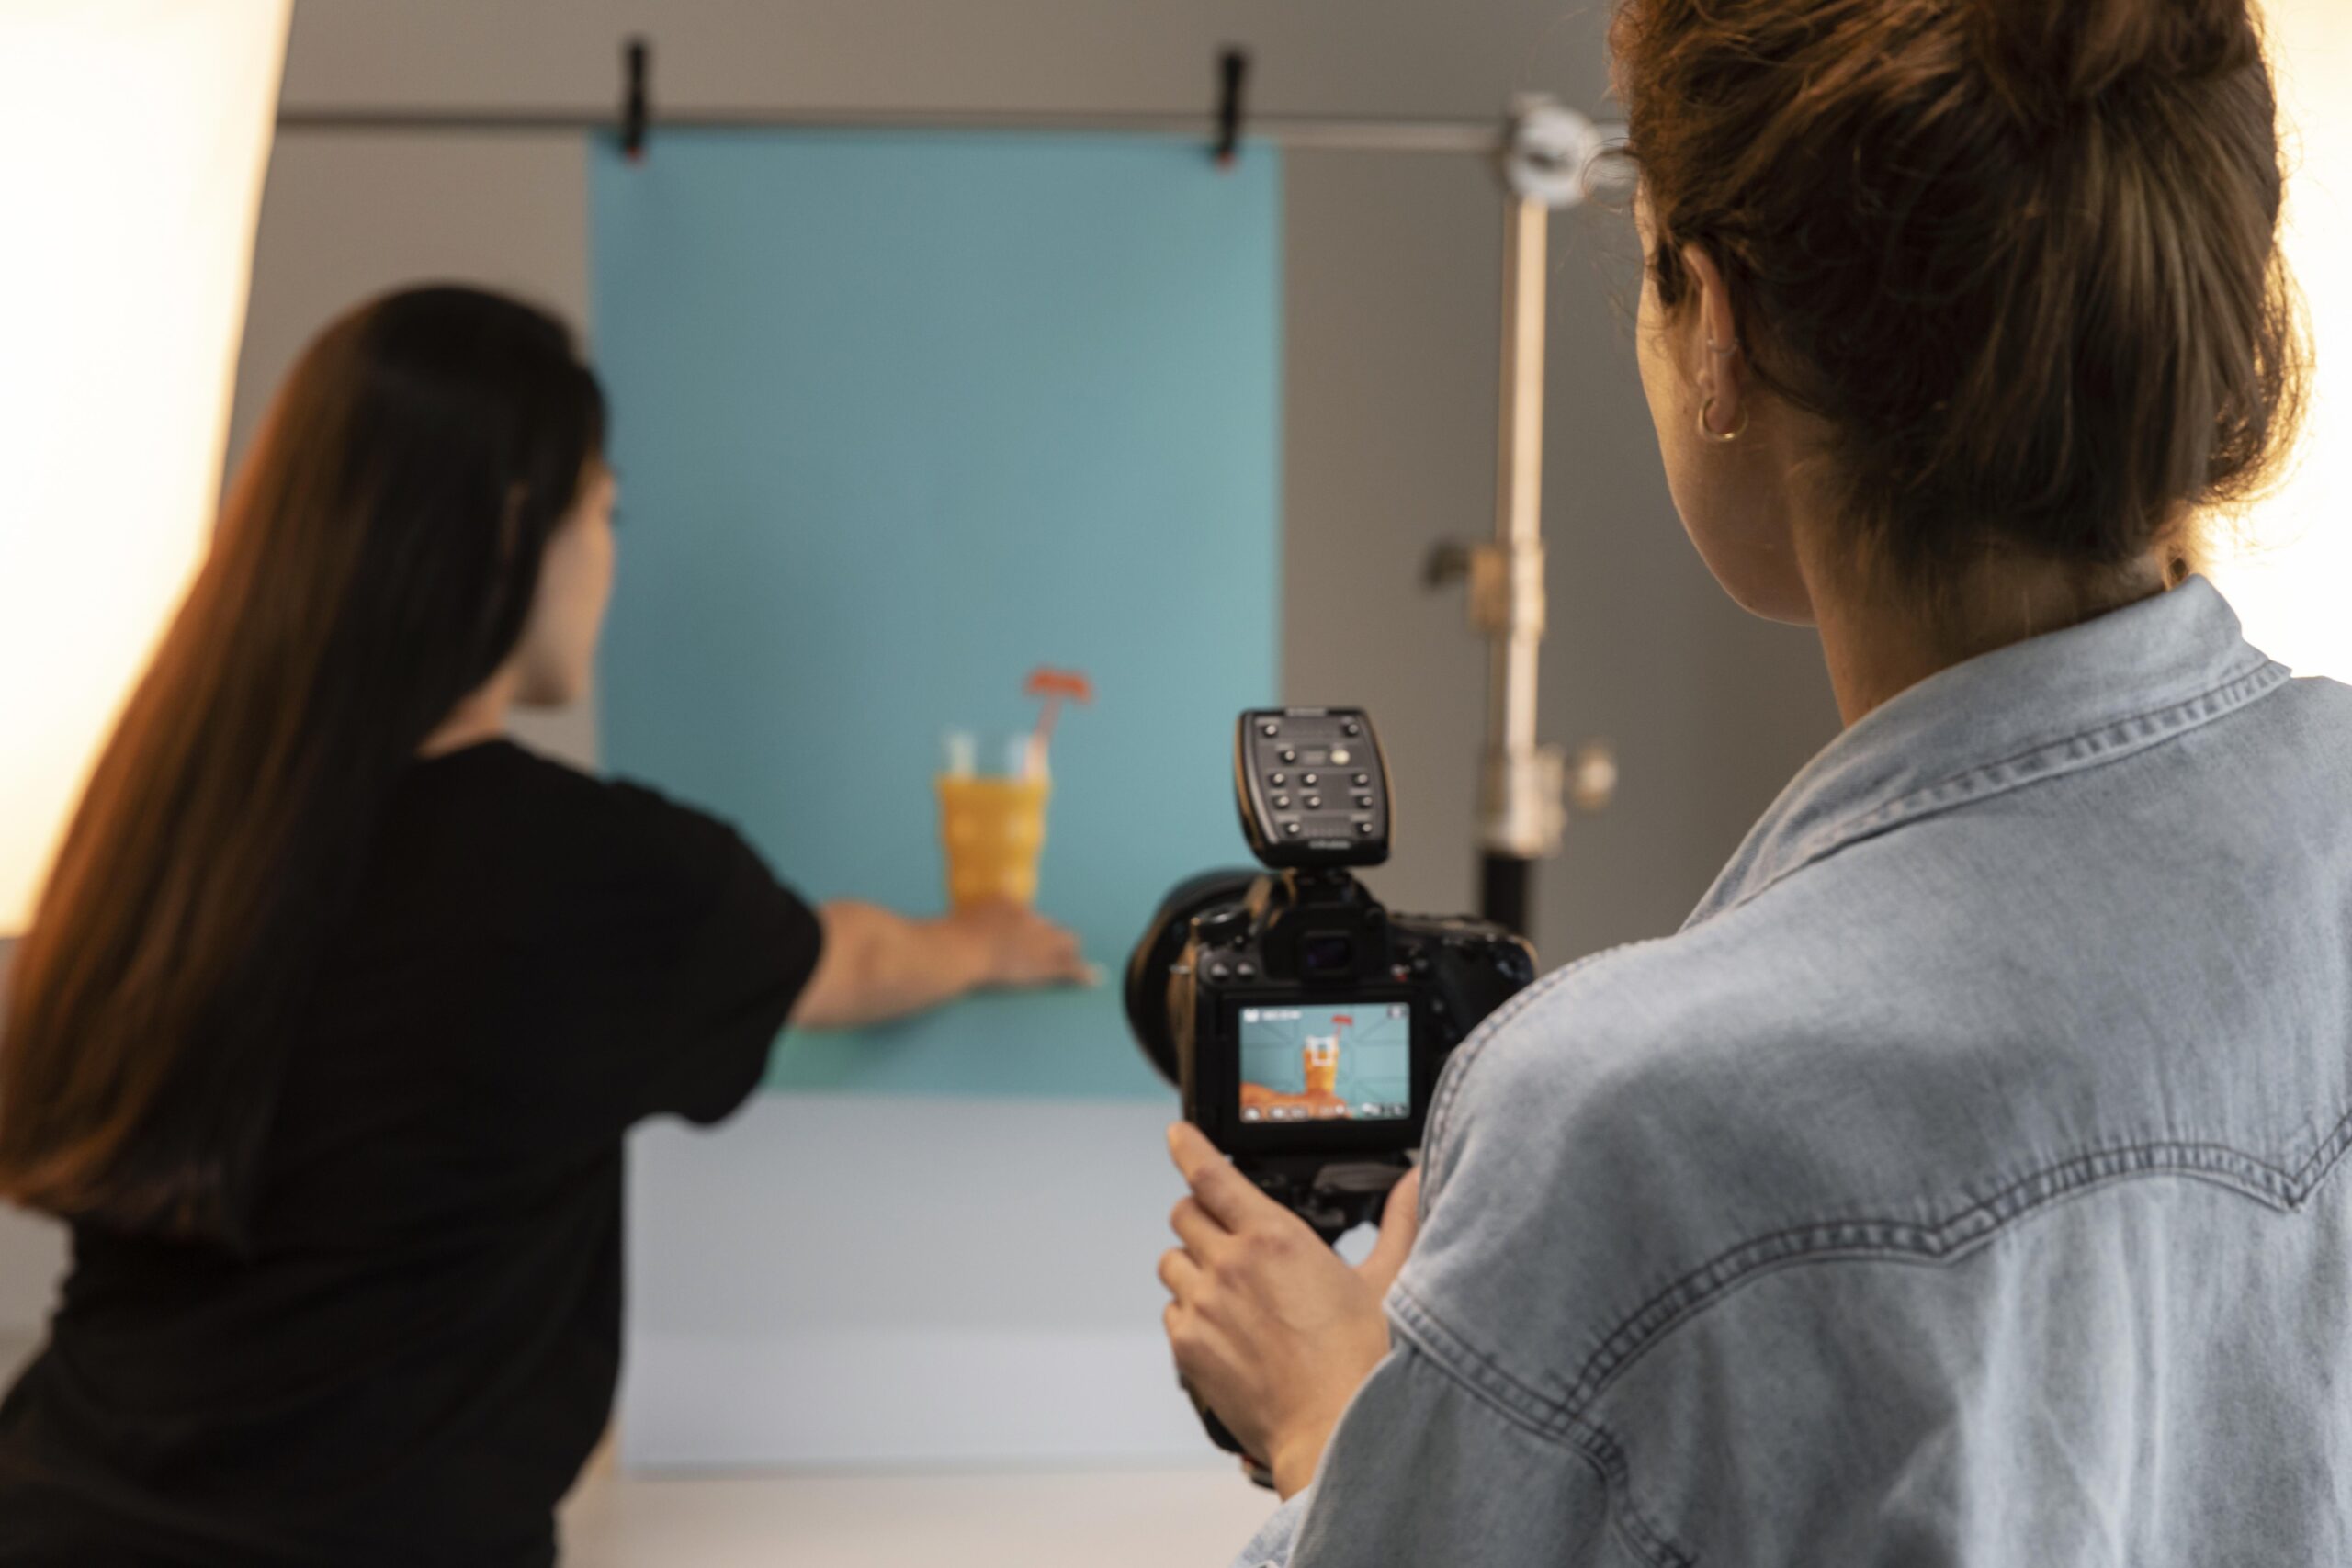
So, Which One Should You Use?
Here’s the truth: Both natural light and studio light have their place.
Natural light is perfect if you’re showcasing handmade products and lifestyle shots or want a cozy, real-world vibe.
If you need crystal-clear, sharp, highly professional photos — especially for websites, Amazon listings, or big product launches — studio light is the way to go.
Many brands actually use both natural light for social media and studio shots for the website.
Tip: Start with natural light. As you grow and need more control, you can slowly invest in basic studio gear like a softbox, ring light, and backdrops.
Final Thoughts
You don’t need a big budget or a professional studio to get amazing product photos.
You just need to understand light and use it smartly.
Whether you’re using the sun streaming through your living room window or setting up a mini studio in your spare room, great lighting makes your products shine (literally and figuratively!).
And remember:
It’s not about having the best gear.
It’s about making what you have work its best.
Now go grab your product, find that perfect light, and start clicking!